

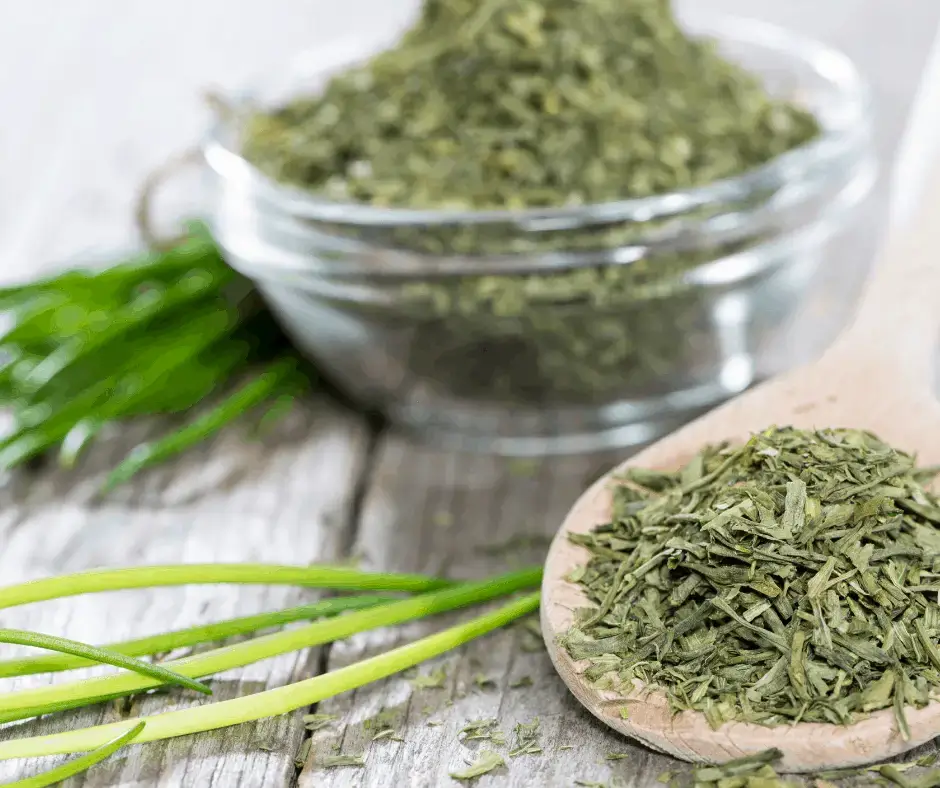
I just planted a ton of chives for use as an alternative to onions sometimes.
I plan on dehydrating my chives to preserve them all year!
The drying process is much the same as with other herbs – easy peasy.
Let’s dig in.
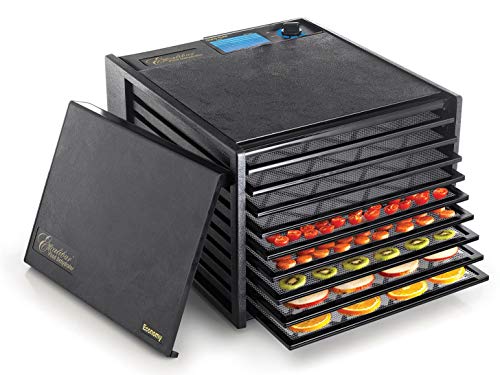
How to Dry Chives in a Dehydrator
Just like how you would start any dehydration process, the first step would be prepping the chives by thoroughly washing and drying them.
You can spin them in a salad spinner to remove excess water, then pat dry with paper towels to remove as much moisture as possible.
Then, chop or cut the chives into uniform pieces around ¼ inch. This ensures all the pieces should dry out evenly.
Once chopped, lay the pieces on the dehydrator trays, spreading them evenly for proper air circulation.
Prices pulled from the Amazon Product Advertising API on:
Product prices and availability are accurate as of the date/time indicated and are subject to change. Any price and availability information displayed on [relevant Amazon Site(s), as applicable] at the time of purchase will apply to the purchase of this product.
If you’re wondering what temperature to dehydrate chives at, it’s usually around 95 to 105 degrees Fahrenheit, so make sure to set your dehydrator within this range.
Drying takes around four to six hours, but it’s perfectly fine to go longer. I’ve even let mine go 10+ hours before.
This is the best way to dehydrate chives because the gradual process of drying at low heat preserves and actually brings out the best flavor.
When the dehydration process is over, let it sit for five minutes to cool down completely.
Store your dried chives in an airtight container so that it won’t lose its quality and flavor.
How to Dry Chives Naturally
Drying chives naturally is an excellent choice if you wish to do it in a more economical and sustainable way.
No expensive equipment needed, you’ll be able to preserve a huge amount of your bountiful harvest and benefit from this herb’s comforting flavor profile and aroma.
There are two ideal ways to dry chives naturally: by air-drying or hanging.
Air Drying Fresh Chives
First, follow the prep instructions mentioned earlier.
Once done, transfer the prepped chives into a shallow bowl, keeping the pieces on a single layer.
Doing this allows them to dry fast.
Run your hands through the chives, stirring and mixing them once or few times a day.
After several days, you might notice that the texture is already crumbly, which only means that the chives have been thoroughly dried and ready for storage.
Transfer the dried chives into an airtight container and store in a safe, dry place away from direct heat and sunlight.
Drying Chives by Hanging
After prepping the chives and drying them thoroughly, tie them in a loose bundle. Make sure the bundle is tied just loose enough so that it doesn’t crush the chives.
Hang it in a secure place away from potential pollutants where air can freely circulate.
Wait for several days for the texture to turn crumbly.
How to Make Dried Chives in the Oven
First, you will need to preheat the oven. Adjust the setting to the lowest temperature, ideally around 185 degrees Fahrenheit.
You can prop the door open to lower the temperature when it’s needed.
Then, place a piece of parchment paper on a baking sheet. Carefully spread out the chives on it in a single layer.
The drying process should take around one to two hours, so check on the chives somewhere between this period to prevent them from burning.
Once they’re crumbly, they’re ready for storage. Let it sit for several minutes to cool down.
Then, transfer the dried chives into an airtight container.
Can You Dry Chives in the Microwave?
Some sources say that drying delicate herbs like chives in the microwave is actually ideal because it preserves their bright green color and their beautiful aroma.
On top of that, it’s a very quick process, so it’s great for busy homeowners.
To start, put two layers of paper towels on a microwave-safe plate. Spread the prepped chives on it and put another paper towel over it.
Set the microwave on high power. It would take around 40 seconds to one minute to complete the process.
Once done, transfer into an airtight jar for long-term storage.
With all that said, I personally don’t like this method. In fact, we don’t even have a microwave for health reasons!
How to Dehydrate Chives in an Air Fryer
Preheat your air fryer at around 360 degrees Fahrenheit for two minutes.
Make sure the chives have been properly prepped and excess moisture has been completely removed. Place the chives in the air fryer basket.

Prices pulled from the Amazon Product Advertising API on:
Product prices and availability are accurate as of the date/time indicated and are subject to change. Any price and availability information displayed on [relevant Amazon Site(s), as applicable] at the time of purchase will apply to the purchase of this product.
Dehydrate them in the air fryer for three minutes. Be sure to check on it after a minute to see whether the texture is already crumbly.
Once done, let the dehydrated chives sit for several minutes to cool, then transfer into an airtight container afterwards.
How Long Do Dried Chives Last?
To maximize its shelf life, you need to keep it properly stored inside a cool, dark cupboard away from direct heat.
As mentioned already you should keep the dried chives inside jars with airtight lids. Do all these steps and you can expect to enjoy your dried chives in a variety of dishes for about 2-3 years.
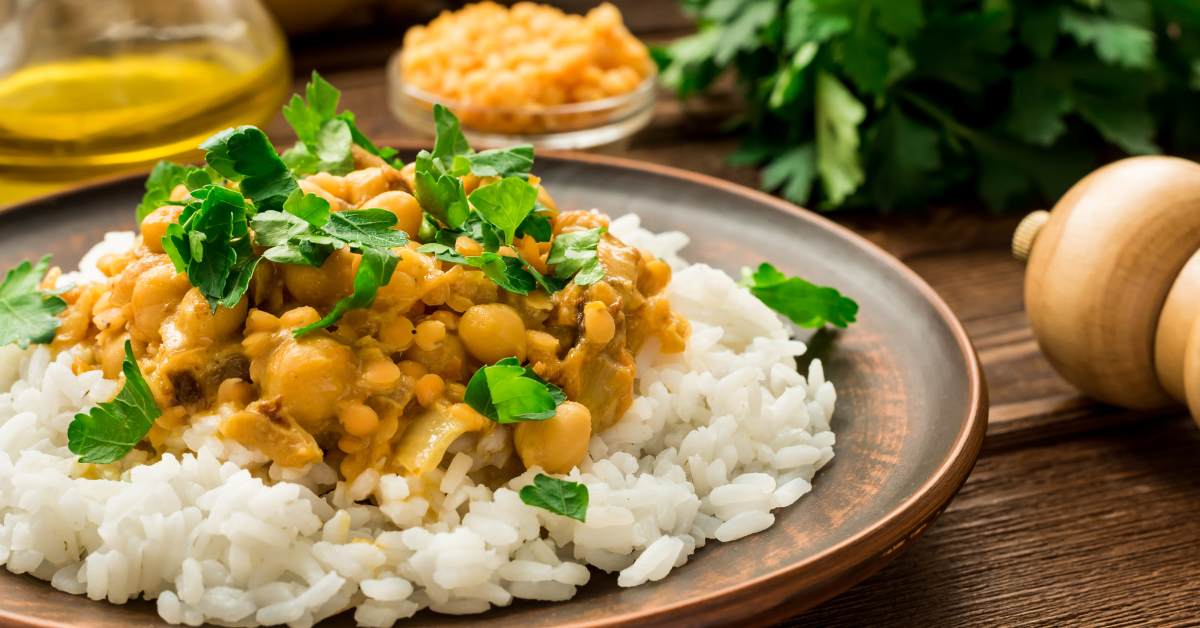
How to Use Dried Chives
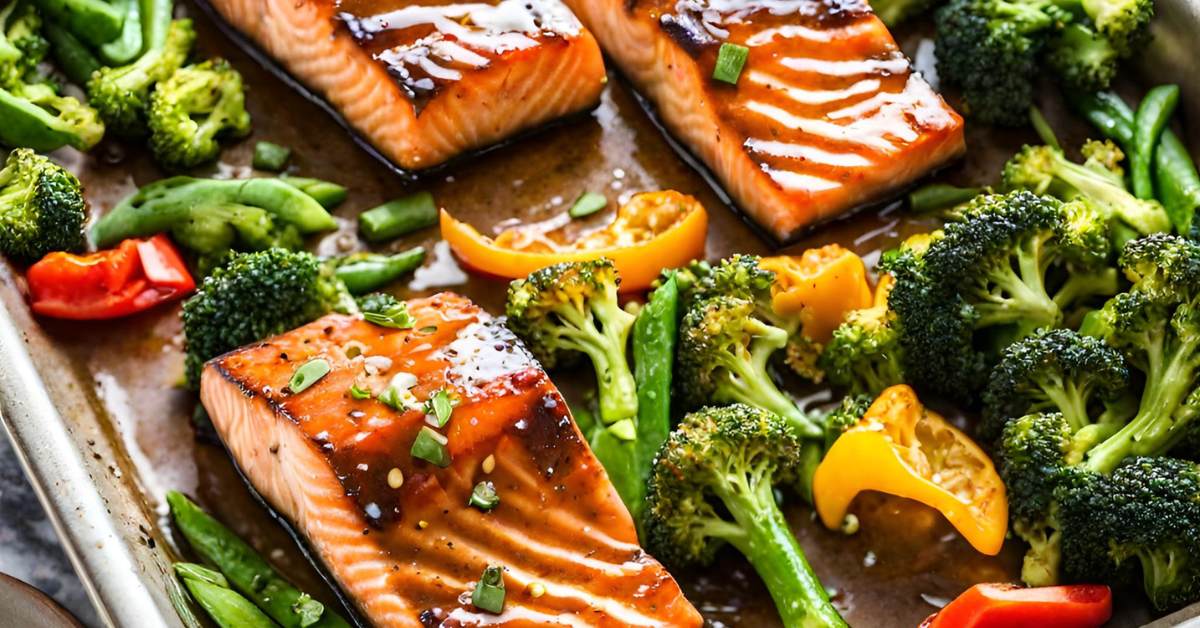
Chives possess a delicate onion flavor which adds a comforting punch in soups, salads, stews, and sour cream as well as egg, meat and fish dishes.
Dried chives are as good as the fresh ones but you should add it earlier than you would do with fresh chives, so that the flavor would really come out and blend well with the other ingredients in the dish.
As for the ratio, just note that every tablespoon of fresh chives is equal to one teaspoon of dried chives.
The Best Way to Preserve Chives
Aside from dehydrating fresh chives, there are also a variety of other interesting and even tastier ways to preserve them.
Making chive oil is one of these. It is a fantastic dip for well-toasted, crusty bread or a star ingredient in seared scallops and cauliflower soup.
You can also make chive butter which is perfect for steak as it makes the dish extra flavorful and succulent. Chive butter is also ideal for mashed or baked potato as well as some fish and vegetable dishes.
If you want another no-frills option, you can dry-freeze your prepped chives by putting them into a freezer-safe ziplock bag. Be sure though to remove as much air as possible so that the texture and quality of the herbs will not be compromised.
All of these are excellent choices so you can simply pick the method that works best with the dish you have in mind. Or, you can try making all of them. It will be fun!
Frequently Asked Questions
Can I dehydrate chive flowers?
Yes, it’s possible. You can opt for the natural process which is pretty simple. Trim the blossoms from their stems and spread evenly on a flat surface like a tray, then toss once a day for a week or so to dry completely.
Chive blossoms can be used as a beautiful garnish on summer salads and egg recipes.
How long does it take to dry chives?
It depends upon the method. If you’re using a dehydrator, around four to six hours.
Meanwhile, if you’re drying it in the oven, expect the process to take around one to two hours.
In the microwave or air fryer, it only takes a few minutes, while the natural air dry method would be around two weeks.
How much dried chives equals fresh?
For every one tablespoon of fresh chives, use one teaspoon of dried chives. Be sure to add the dried chives earlier in the cooking process to truly maximize its flavor and aroma.


Can I powder my dehydrated chives and if so how can I use them
Yes! You can use just as you would onion powder, though the taste is probably not as strong. Hope that helps!